As an Amazon Associate, I earn from qualifying purchases.


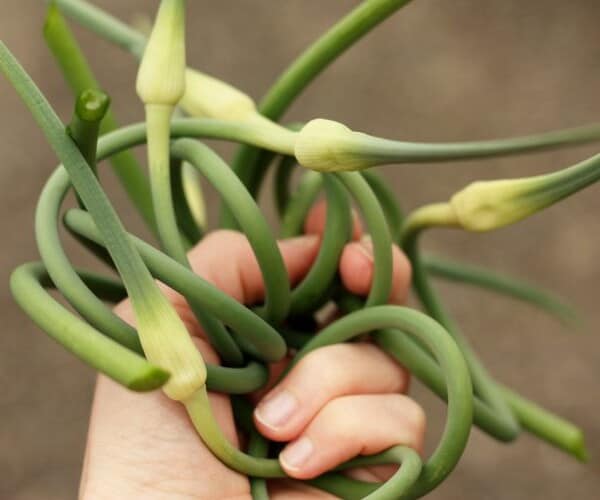
Dehydrating Garlic is such a simple way to preserve this delicious pantry staple! Learn how to make dried garlic in a food dehydrator or in the oven.

Garlic is a staple in so many kitchens for a reason. This incredible ingredient adds so much flavor to many dishes.
While fresh garlic can last for a while, dehydrating garlic will extend the shelf-life tenfold.
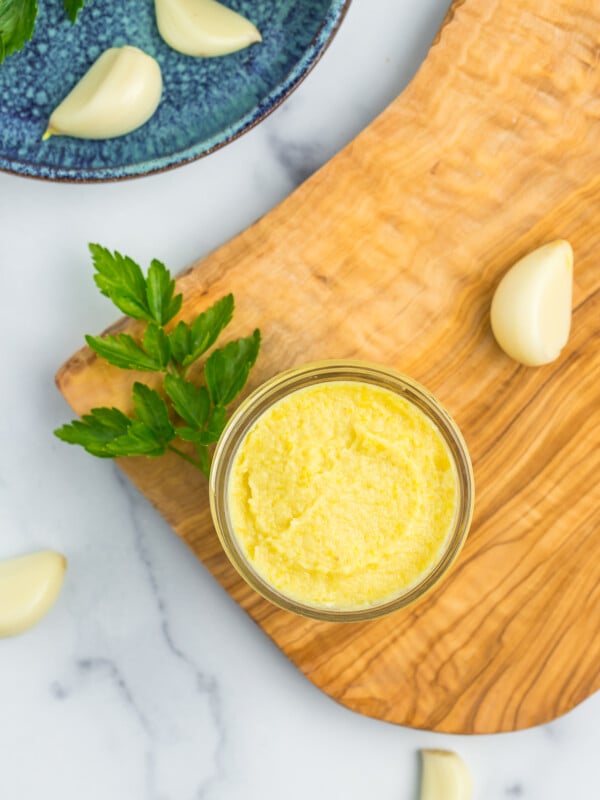
If you’re a huge garlic fan (and who isn’t?), check out How to Grow Garlic, Instant Pot Roasted Garlic, Homemade Garlic Paste, and Air Fryer Roasted Garlic, for more delicious garlic options.
How do you dehydrate garlic at home?
There are two methods you can use to dehydrate garlic – the dehydrator and the oven. I’ll walk you through both of the options in the printable recipe card at the bottom of the post.
If you decide that dehydrating garlic just isn’t for you, check out my tutorial on how to freeze garlic.
How to Dehydrate Garlic
*I’ll walk you through it here with some photos and tips, and you’ll also find a printable recipe card at the bottom of the post with exact measurements, etc. You can also click “jump to recipe” to skip down.
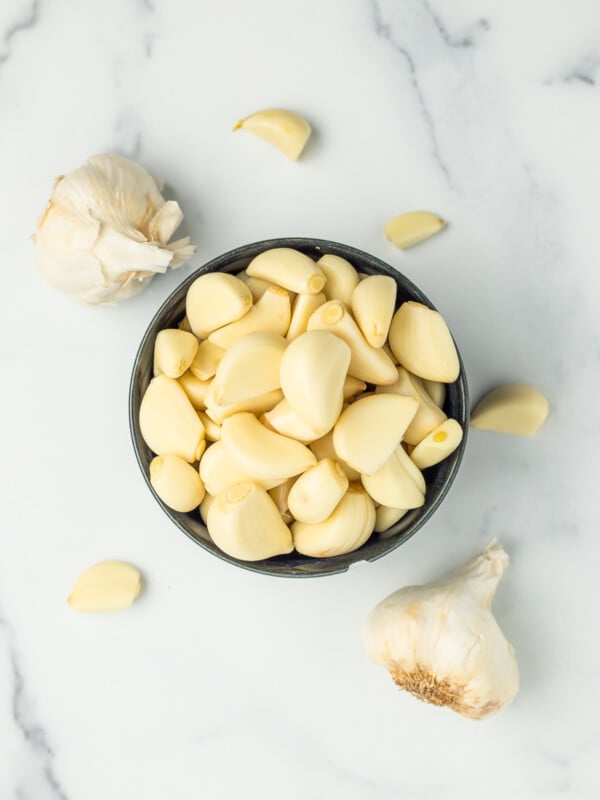
First up, you’ll need to separate the garlic cloves from the papery skin.
Next up, you’ll want to cut the root end off of the cloves. This is optional, but I prefer to do it so that any woody ends don’t contaminate the batch.
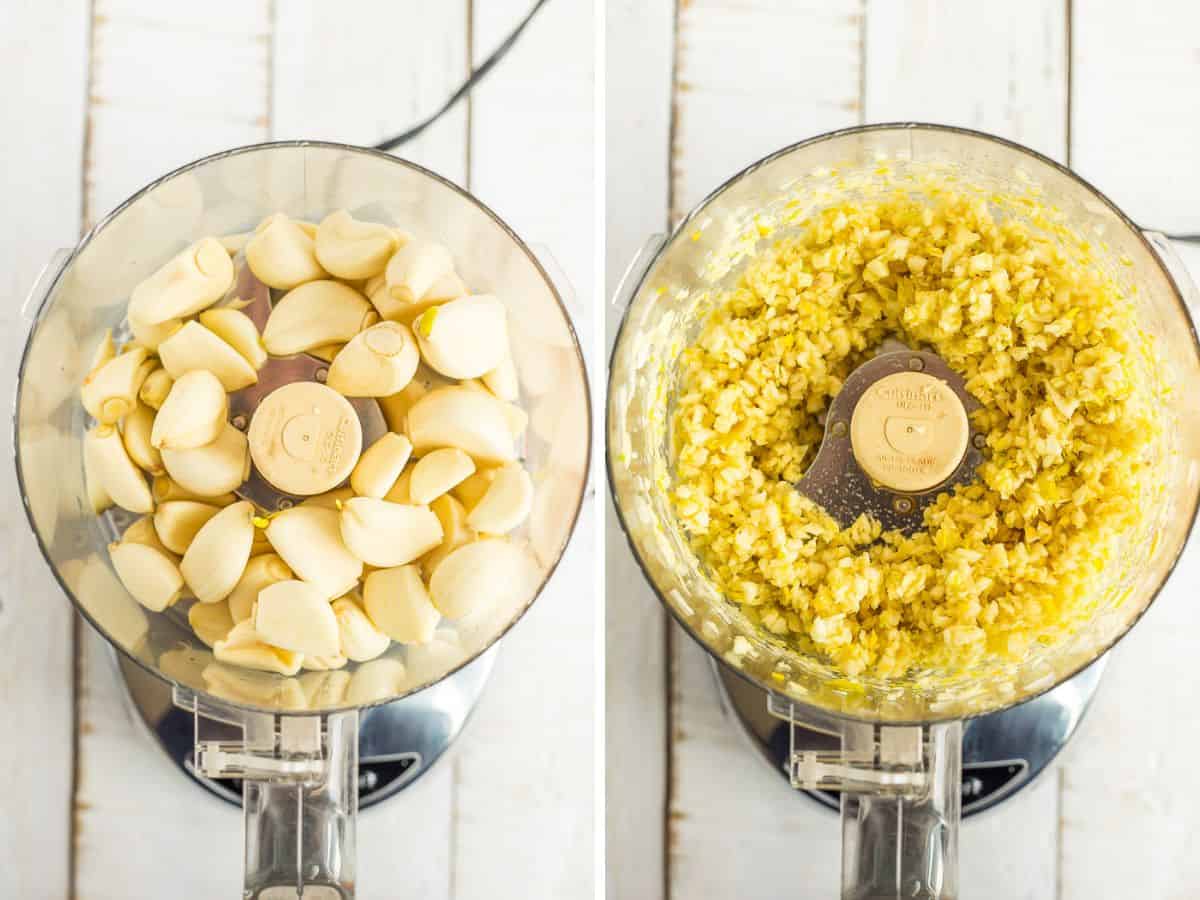
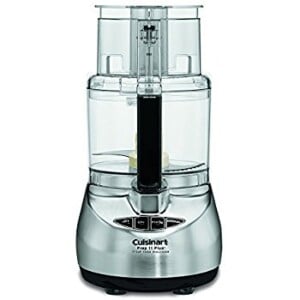
If you’re processing a lot of garlic at once, I highly recommend using a food processor on the “pulse” function. This will chop the garlic into uniform pieces quickly. No food processor? Use a sharp chef’s knife, a cutting board, and some patience, or a handheld chopper.
Prefer drying sliced garlic? Use a handheld garlic slicer to make it safer for your fingers.
Drying Garlic in a Dehydrator
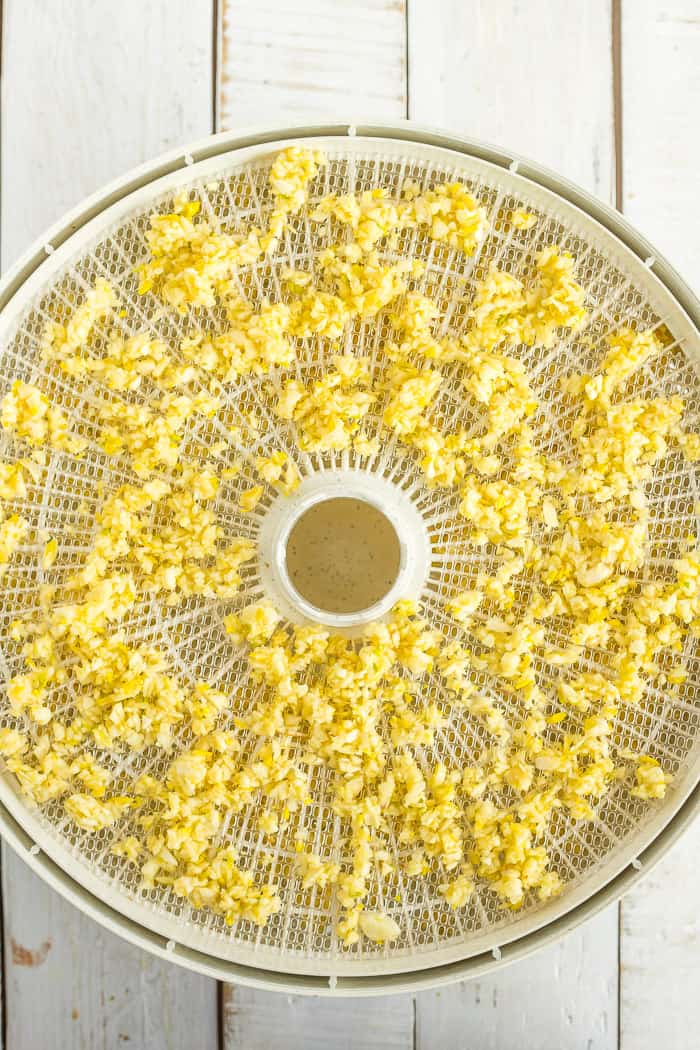
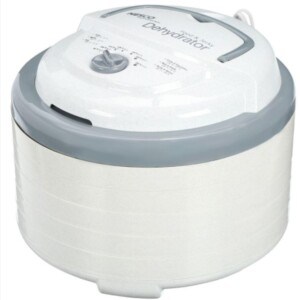
Spread the garlic onto the trays of your dehydrator (this is the one I have). If you have screen inserts for dehydrating smaller items, they would be great to use for this process. If you have a lot of garlic to dry, use multiple trays instead of trying to cram everything onto one.
Set the dehydrator to 100-110˚F. On my model, this is the “herb setting”. Rotate the trays every few hours, breaking apart any clumps that have formed.
And just a pro tip from me to you: if you have a safe space to plug in the dehydrated outside, I highly recommend it. As much as we all love a vampire-proof house, the smell of drying garlic can be more extra than a scoop of guacamole at Chipotle.
The total drying time will depend on the size of your garlic and how many trays you are drying at once. Dehydrate until garlic is dry to the touch and will break/snap instead of bend (~6-12 hours).
Drying Garlic in an oven
Place chopped garlic on baking drying racks set inside baking sheets. I like setting grill mats on top of wire racks.
Place the trays in the oven at the lowest temperature possible (usually 140-170˚F) and prop open the door with the handle of a wooden spoon. This allows condensation to escape instead of settling back onto the garlic.
Bake the garlic for 5-8 hours. Check every 2 hours, rotating trays and breaking apart any clumps that have formed.
How will I know when garlic is dehydrated?
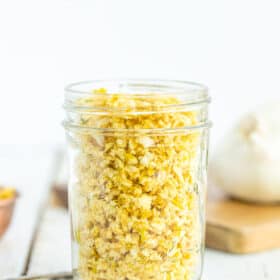
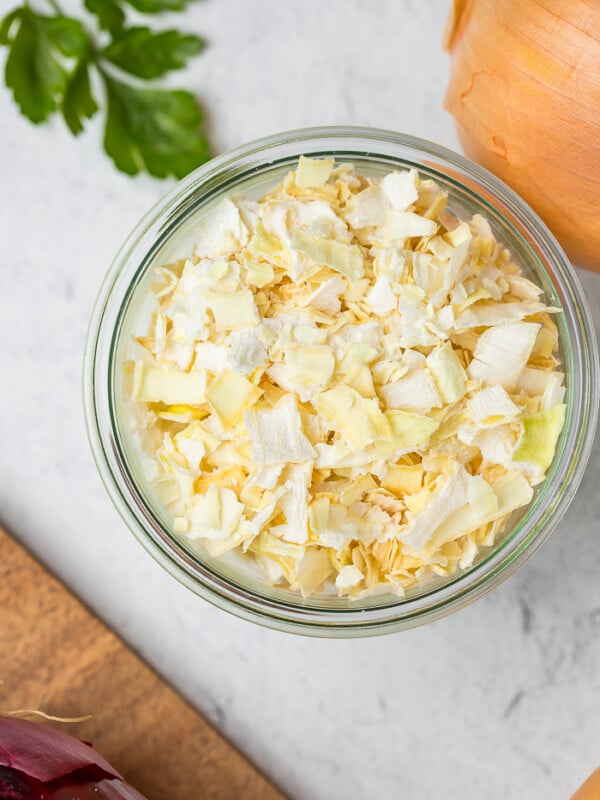
Minced garlic will break apart, and feet hard to the touch when it is fully dried. It will have the texture of granola.
If you’re dehydrating garlic slices/chips, a fully dehydrated slice will snap when you attempt to bend it.
How Long Will Dehydrated Garlic Last?
As long as it is stored in a cool and dry place, your dehydrated garlic will be good for years.
Make sure the dried garlic is fully cooled before putting it into an air-tight container. As it cools it will release heat that could result in condensation and eventually cause the garlic to mold.
The potency of the dried garlic will wan over time. If you make a lot at once, you can store some in your spice cabinet and the rest in the freezer.
Frequently asked questions
Absolutely! Dehydrated or dried garlic is a versatile staple in many pantries and kitchens.
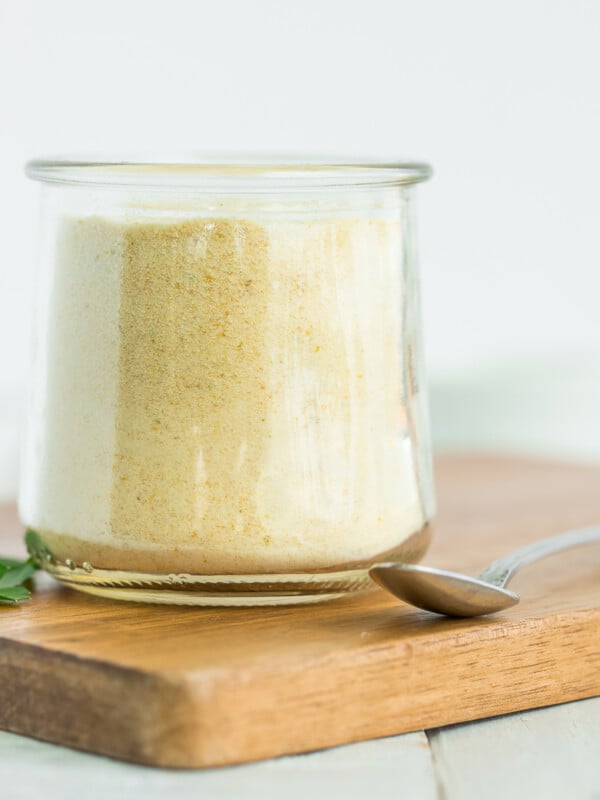
Garlic powder is made from garlic that has been dehydrated and then blended into a fine powder using a blender, spice grinder, or a coffee grinder.
Find more details in our tutorial on How to Make Garlic Powder.
I strongly recommend peeling your garlic before dehydrating it. The peel/skin is not something you’d want to eat, and removing it after drying the garlic would be time-consuming.
No, there is no need to par-cook or blanch garlic before dehydrating it.
Looking for more dehydrator tutorials? Check out our posts on Dehydrating Limes, Dehydrating Apples, Dehydrated Orange Slices, Dehydrating Marshmallows, Dehydrating Onions, Drying Potatoes, Drying Peaches, Drying Peppers, Drying Pears, Homemade Tomato Powder, and Dehydrating Tomatoes.
And you’ll love these drying herb tutorials: Dehydrating Oregano, Drying Chives, Dehydrating Mint, How to Dry Basil, Drying Thyme, and Drying Rosemary.
Pro Tips/Recipe Notes
- Avoid the temptation to increase the heat on the dehydrator or oven to speed up the process. This can burn the garlic as it dries, resulting in a bitter finished product. Low and slow wins in the race on this one.
- If possible, move your dehydrator outside to a safe covered space. The smell of drying garlic can be overwhelming to many people.
- The garlic is ready when pieces of it break or snap instead of bend. If you chopped your garlic, it will feel like granola when it is ready.
- (optional) add a bit of uncooked dried white rice to a powerful blender to make garlic powder. Find more details in our tutorial on How to Make Garlic Powder.

More Delicious Preserving Recipes
Dehydrating Garlic
Ingredients
- garlic {peeled, root end removed}
Instructions
- Separate garlic cloves from the head. Remove papery skin.garlic
- Cut the root end off of each clove.
- For dried minced garlic: Chop cloves with a chef's knife or in a food processor until chopped in a mostly uniform size.
- For dried garlic slices: carefully slice the cloves as evenly and thinly as possible.
- Spread garlic on dehydrator trays. Use multiple trays for large batches.
- If your dehydrator has an herb setting, use that. If not, dehydrate between 100-110˚F.
- Rotate trays every few hours, and gently move garlic around on trays to break up any clumps.
- Dry until garlic is dry to the touch and will break/snap instead of bend (~6-12 hours).
Notes
- If possible, place your dehydrator outside in a covered area.
- Drying time will vary depending on the size of the garlic you’re drying, how many trays you are drying at once, and if you rotate the trays during drying time.
- Store in a cool dry place for 2-3 years.
Oven-Baking: Place chopped garlic on baking drying racks set inside baking sheets. Place in the oven at the lowest temperature possible (usually 140-170˚F) and prop open the door with the handle of a wooden spoon. This allows condensation to escape instead of settling back onto the garlic. Bake for 5-8 hours. Check every 2 hours, rotating trays and breaking apart any clumps that have formed.
Nutrition
Nutrition information is automatically calculated, so should only be used as an approximation.


I have an air fryer oven that also can be used as a dehydrator. Will the garlic make the air fryer smell like garlic and flavor foods cooked after dehydrating the garlic.
Is it an oven-style or basket-style air fryer? The basket style would be easy enough to soak to remove any lingering garlic smell.
If you have an oven style, I’d wrap a dish of water with some cinnamon with foil and place it on the racks. “Bake” at low heat for 5 minutes to remove any garlic smell.
I’ve been planning to buy bulk dehydrated garlic and store it in my pantry to save money because I keep on buying one bottle after the other. Thanks for the tip on how your dried garlic can keep for years if it is kept in a cold, dry area. I’ll also note that before placing the dried garlic in an airtight container, make sure it has completely cooled.